Imagine a tiny drone that fits in the palm of your hand, yet it’s equipped with the ability to see the invisible, how cool is that? Welcome to the world of Raspberry Pi Zero thermal drones, where innovation meets practicality, and your DIY dreams take flight. If you’ve ever thought about building your own aerial surveillance masterpiece, you’re in for a treat. In this text, not only will you learn how to assemble your very own Raspberry Pi Zero thermal drone, but you’ll also discover why this diminutive powerhouse is shaking things up in the drone industry. Let’s immerse, shall we?
Overview of Raspberry Pi Zero Drones
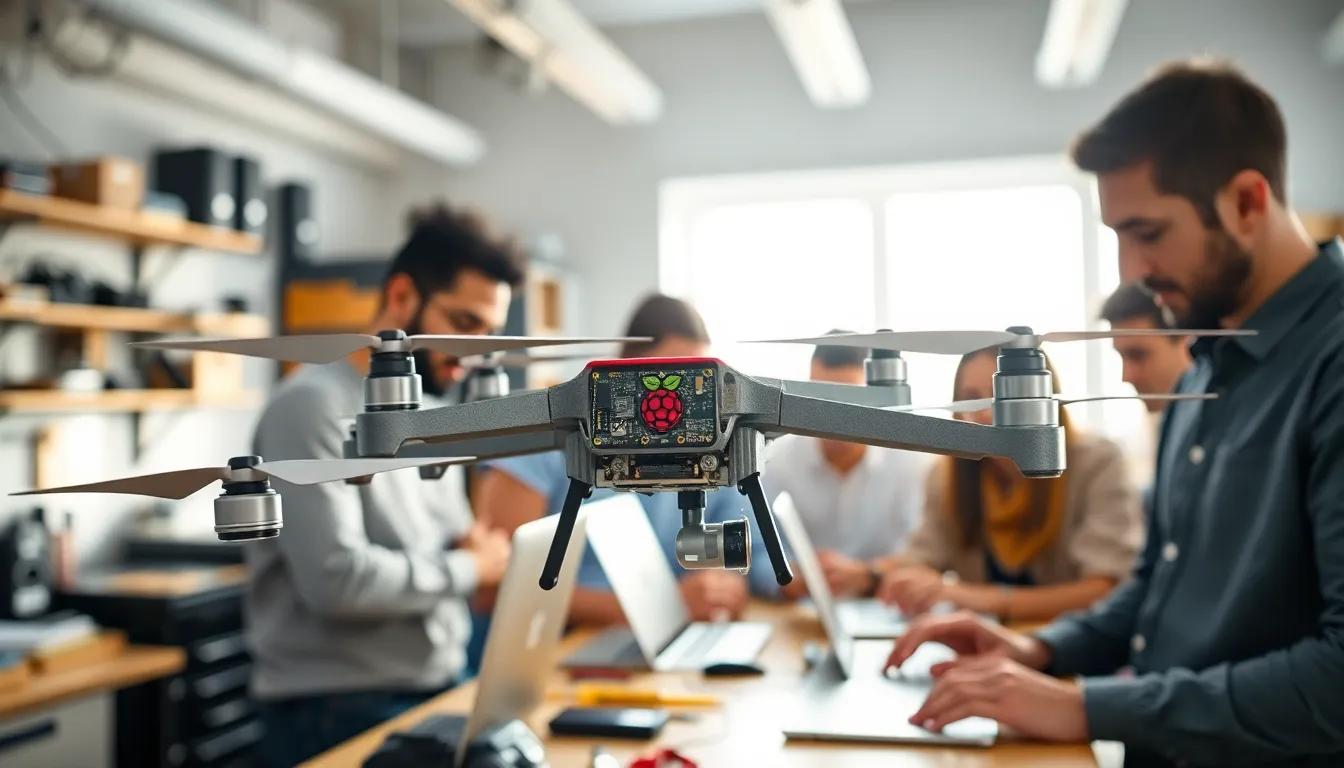
The Raspberry Pi Zero has emerged as a game changer in the DIY drone community. At a mere size of credit card dimensions, this tiny computer packs enough punch to serve as the brain of a drone, making it a favorite for hobbyists and innovators alike. Unlike traditional drones that boast hefty prices and complex setups, the Raspberry Pi Zero offers a streamlined, budget-friendly option without sacrificing functionality. With its lightweight frame and a flexible operating system, it opens up endless possibilities for customization and experimentation.
Incorporating a Raspberry Pi Zero into a drone allows enthusiasts to plug in various sensors and modules easily, outfitting their flying creations with features that standard drones might not offer. From headless modes to altitude hold, the configurations are as varied as the applications are vast. Anyone can create an advanced aerial device with just a few additional parts and a little programming knowledge.
Benefits of Using Raspberry Pi Zero for Drones
Opting for a Raspberry Pi Zero as your drone’s core brings numerous advantages to the table. First off, you get amazing flexibility: unlike traditional drones where the options can be pretty limited, this small powerhouse allows a user to personalize hardware configurations and applications. You might want to add a thermal camera for surveillance, or maybe a GPS module for navigation, whatever suits your fancy.
Also, cost effectiveness cannot be overstated. While high-end drone models can easily deplete pocketbooks, the Raspberry Pi Zero provides a significantly lower entry point, allowing users to experiment without the fear of draining their finances. It’s also lightweight, meaning less strain on the drone’s battery and, so, longer flight times, who doesn’t want that?
Finally, the vibrant community surrounding Raspberry Pi offers ample support, tutorials, and shared experiences, making it easier for newcomers to get their feet wet without feeling overwhelmed.
Thermal Imaging Technology in Drones
Thermal imaging has changed the landscape of drone applications significantly. Using this technology, drones can detect heat signatures from various sources, which opens up a world of possibilities. For instance, exploring areas for search and rescue missions becomes much more efficient when you can spot a warm body among a sea of cold surroundings.
But how does it work? In simple terms, thermal cameras capture infrared radiation emitted by objects, converting that data into images visible to the human eye. With a Raspberry Pi Zero, users can integrate lightweight thermal cameras to create drones capable of seeing in the dark or through smoke.
This technology revolutionizes industries like agriculture, where farmers can monitor crop health from the sky, and construction, where building inspections become swifter and safer. A thermal drone is more than just a toy: it represents a significant leap in innovation and functionality.
Building a Raspberry Pi Zero Thermal Drone
Crafting your very own Raspberry Pi Zero thermal drone may sound daunting, but it’s actually more straightforward than you might think. Here’s how to get started:
Key Components Required
To kick off this exciting project, you’ll need a few key components:
- A Raspberry Pi Zero W
- A thermal camera module (like the AMG8833)
- Propellers and drone frame
- Flight controller
- Battery
- MicroSD card (for the Raspberry Pi)
These components are not only affordable but also readily available online, making your purchase decisions stress-free.
Step-by-Step Assembly Guide
Once all parts are gathered, you’re ready to get your hands dirty. Start by assembling the frame and mounting the Raspberry Pi Zero and thermal camera securely. Connect the camera to the Raspberry Pi and ensure all wiring is correctly configured to avoid mishaps during flight.
Next, install the flight controller that will manage the drone’s navigation. Follow the manufacturer’s instructions meticulously: even a tiny misstep can lead to drama in the sky.
Programming the Raspberry Pi Zero
This is where the fun part begins. By installing the Raspberry Pi operating system, you can start programming your drone. Python is a popular language for controlling the Pi’s functionalities, including reading data from the thermal camera. You’ll find numerous online resources and forums dedicated to helping beginners learn how to code your Raspberry Pi for optimal performance.
Don’t hesitate to experiment with different scripts and features: the sky is quite literally the limit.
Possible Applications of Thermal Drones
The applications of thermal drones are as diverse as they are valuable. Law enforcement agencies are using them for surveillance, making it easier to track suspects at night. In agriculture, farmers are discovering the health of crops by spotting areas that need attention based on heat differences.
Then there are search and rescue missions, where those who have gone missing can be located with remarkable efficiency. Thermal imaging can save lives by helping rescuers see through darkness or thick vegetation. Environmental monitoring has gained a new ally: from wildlife observation to detecting heat loss in buildings, thermal drones are paving the way for a more informed approach to various fields.
It’s evident that thermal drones offer remarkable advantages across multiple sectors, driving innovation and increasing the quality of life in meaningful ways.
Challenges and Considerations
No technology comes without its hurdles, and building a Raspberry Pi Zero thermal drone is no exception. Users might grapple with weight distribution: a perfectly balanced drone is crucial for stability but can be hard to achieve if opting for heavy components.
Battery life is another factor to consider, striking a balance between functionality and how long the drone can stay airborne is essential. Thermal cameras can drain batteries faster, meaning users may need to invest in better power sources.
Finally, legal considerations are important too: flying drones, especially in urban or crowded areas, often involves regulations that must be adhered to keep everyone safe. Staying informed about the laws relevant to your area can save you both headaches and potential fines.


